
Window Leak to Dream Basement and Laundry Room
/It started out as a small leak coming from the window well. The final result was a complete transformation of their basement and laundry room. After a terrible first meeting with the contractors the insurance company sent over, our clients in North Oshawa asked for referrals from their friends. Enter Multi-Trade Building Services! We show you the before and after photos and talk about some of the unique features of this project!
Beavis and Butthead Just Won’t Do
Our clients (for privacy, we’ll call them Sue and Dan) had a leak from their window well, and of course, they contacted their insurance company for the repairs. In the words of Dan, the insurance company sent them "Beavis and Butthead". They decided to ask their friends, Tom and Diane, for some recommendations of people they had worked with in the past. We had previously done a kitchen for Tom and Diane and were now in the process of finalizing plans for their ensuite bathroom. They were very happy with the work we had completed and highly recommended us to Sue and Dan.
We connected right away and knew this would be a great relationship moving forward. Knowing some repair work needed to be done to the basement in order to deal with the leak, Sue and Dan decided this was a great time to finish the rest of the basement and create the dream basement and laundry room they always wanted. After negotiating a settlement with the insurance company, we were all ready to get started.
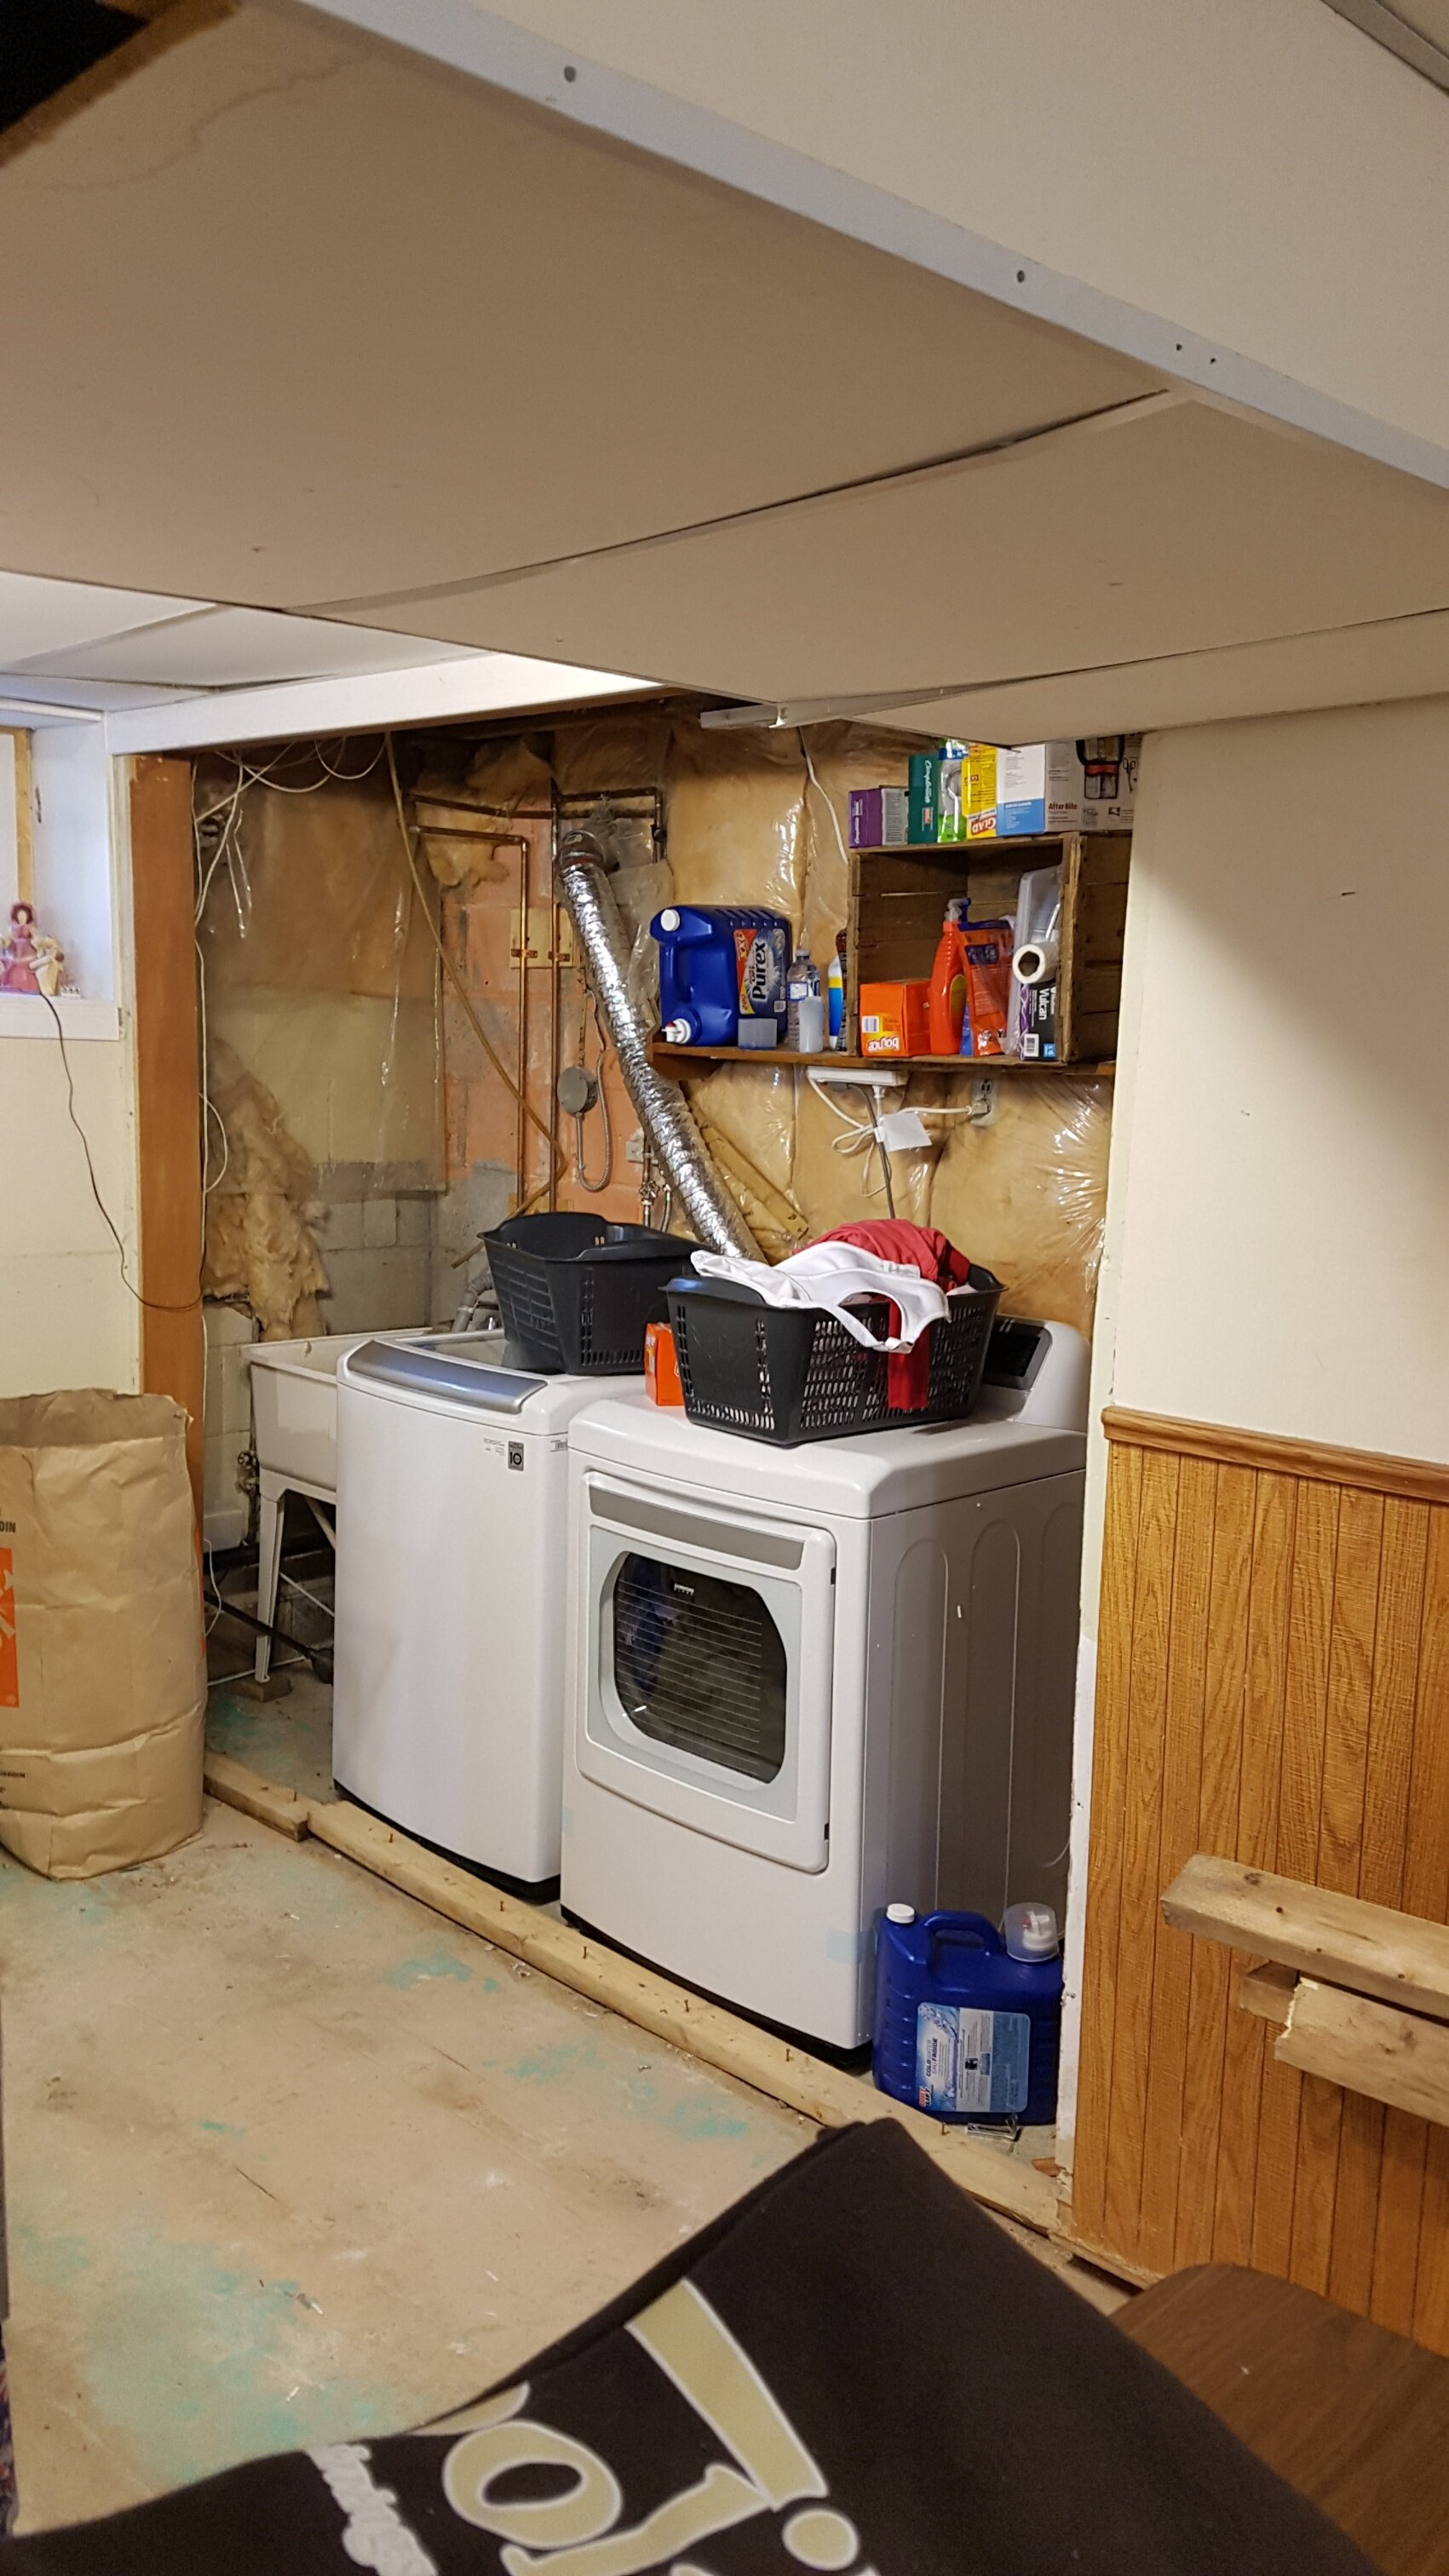
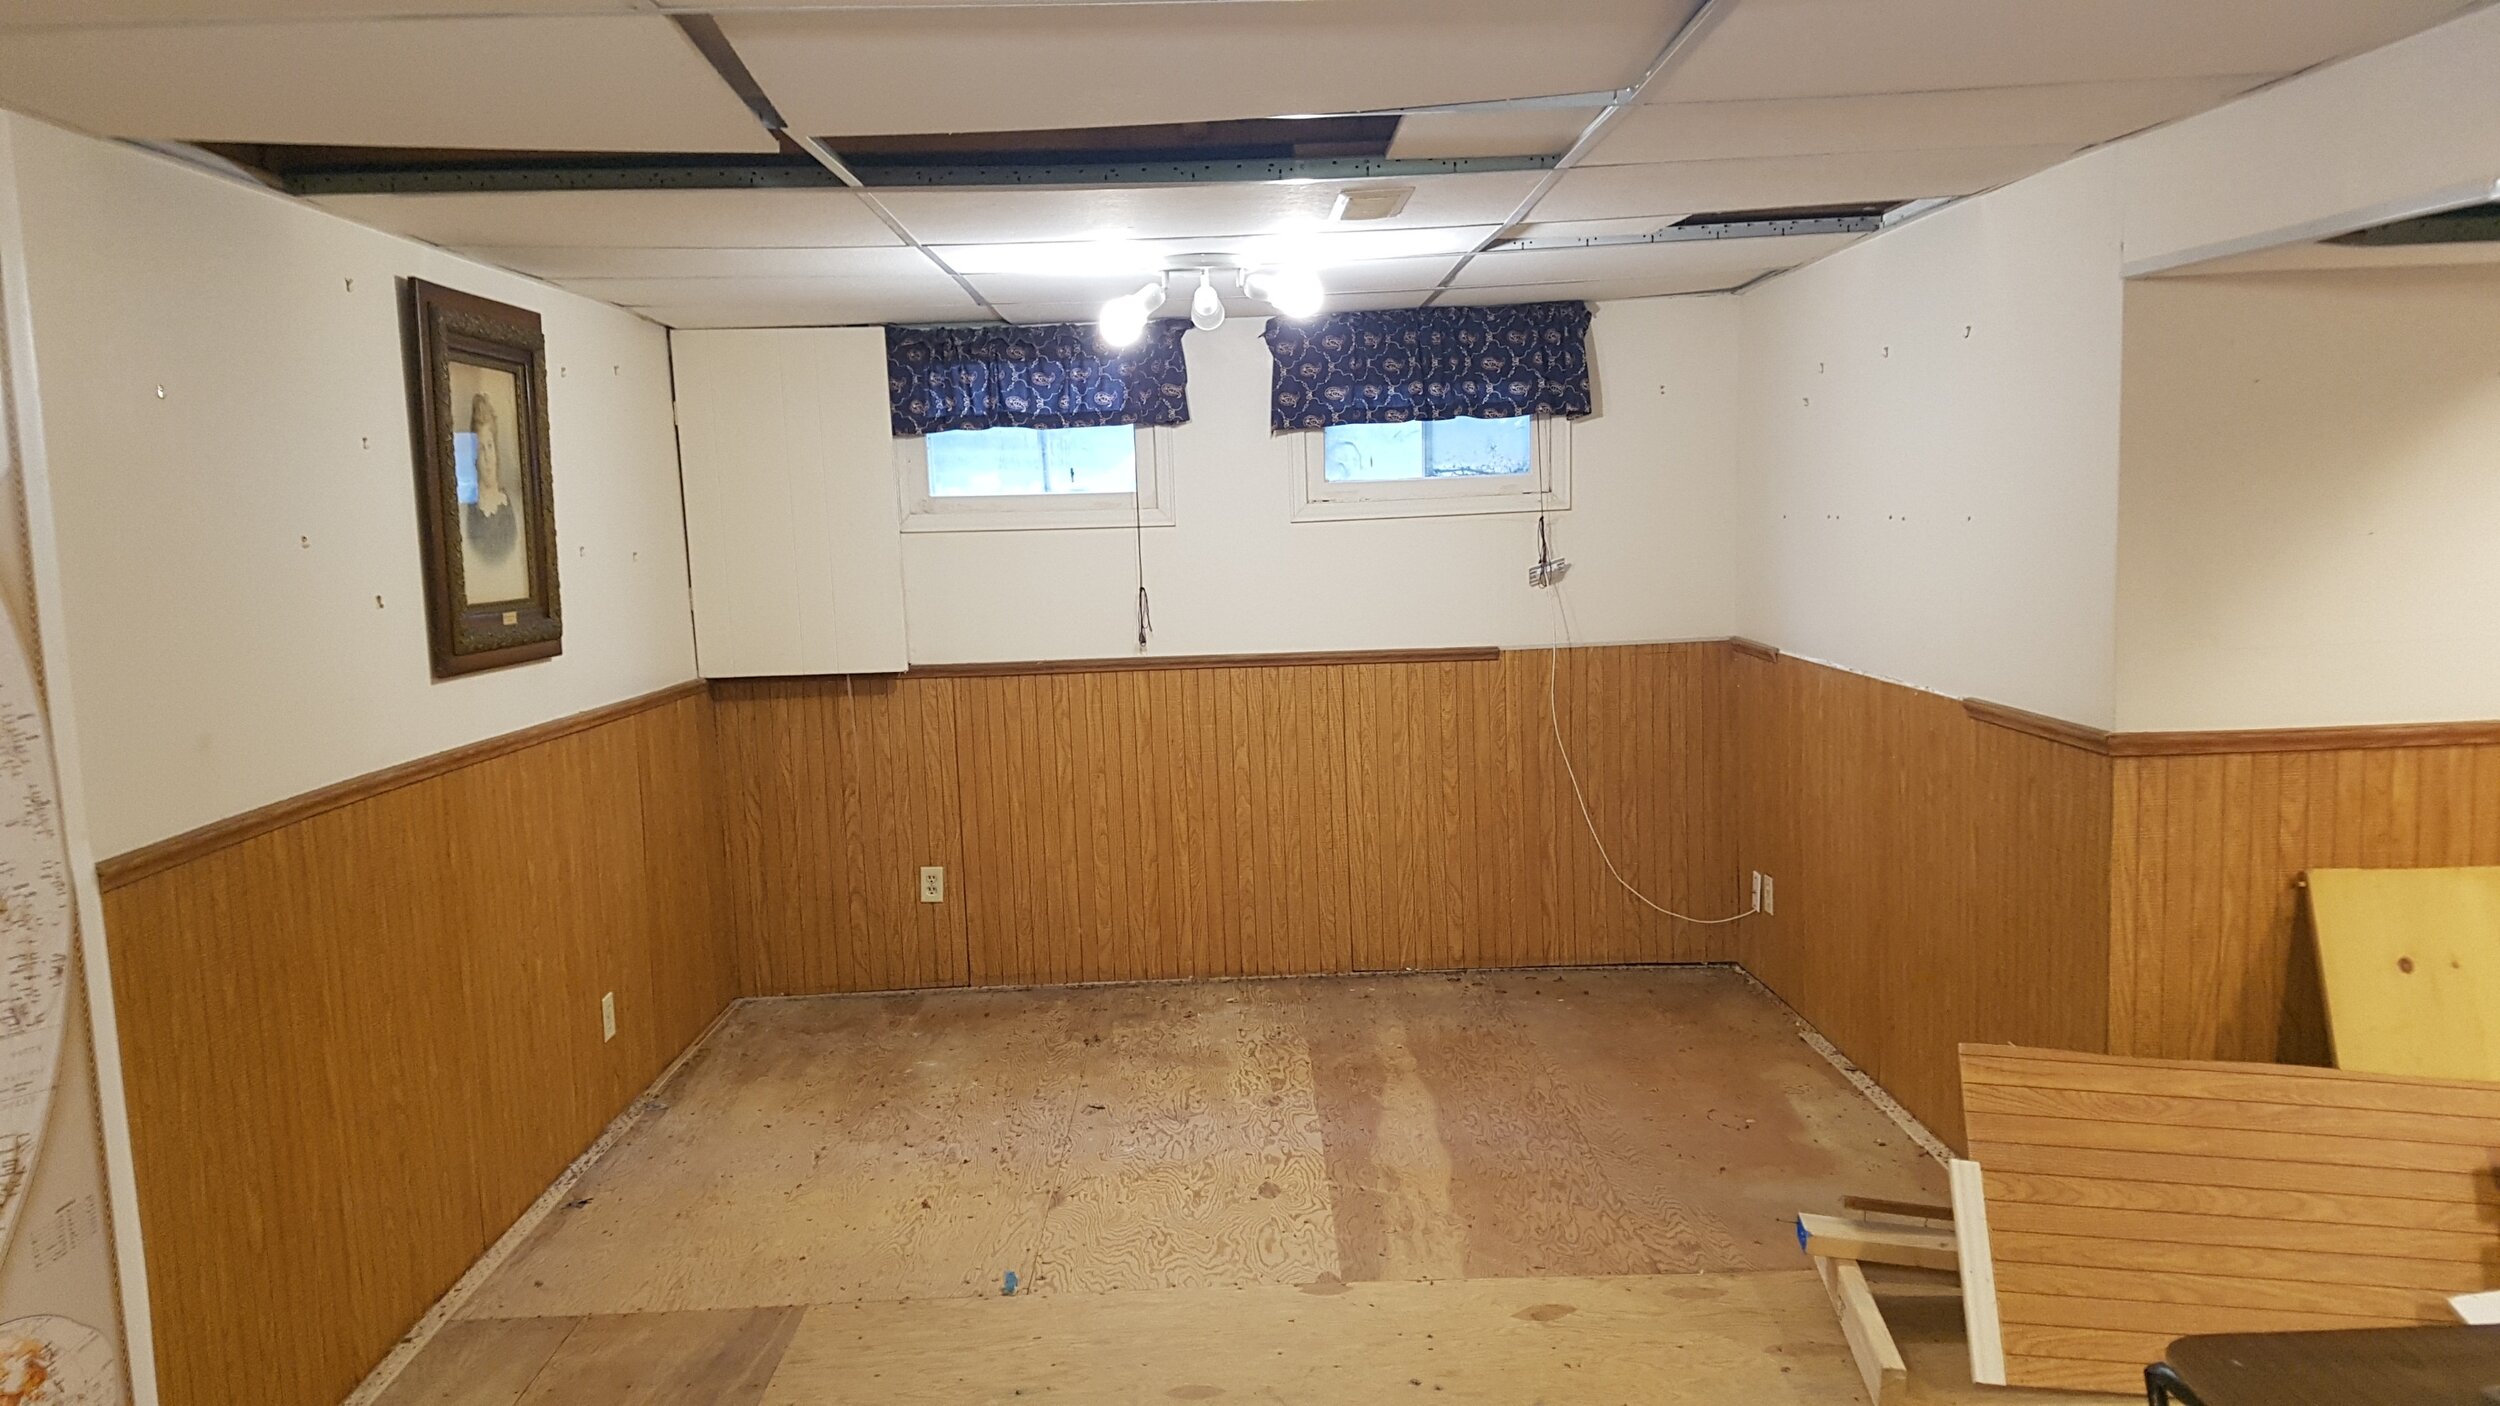
The Before Photos
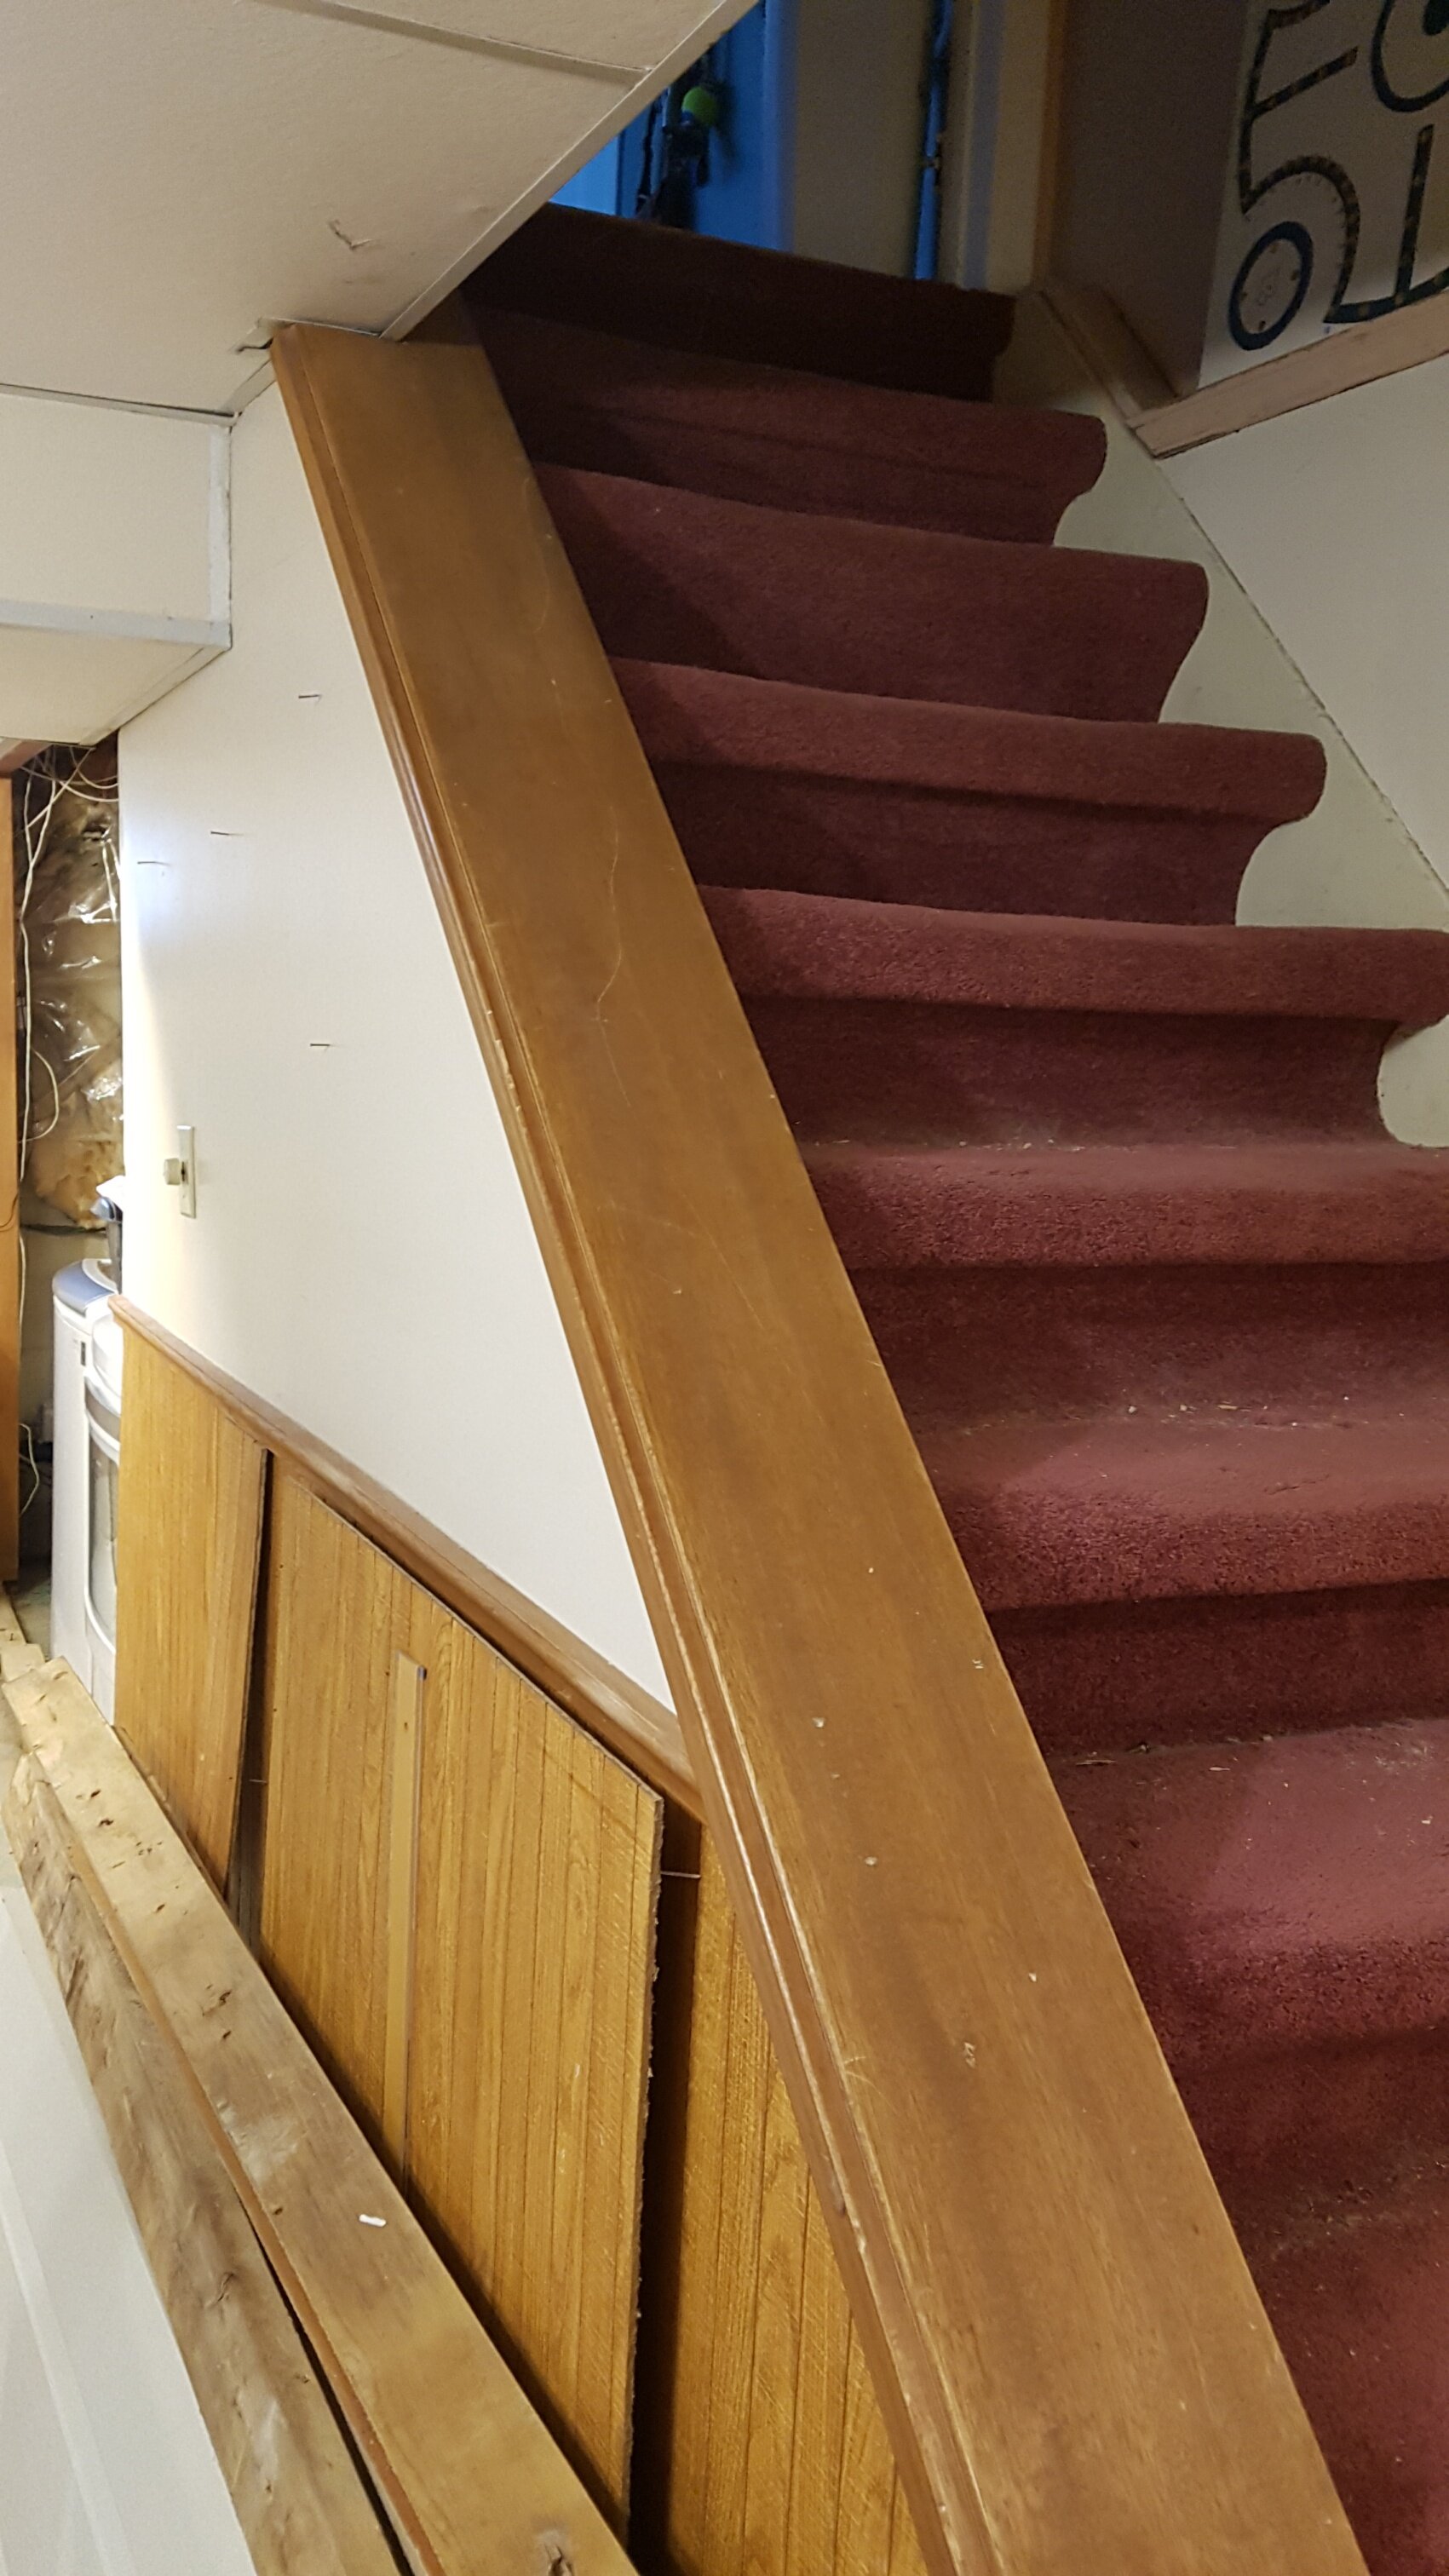
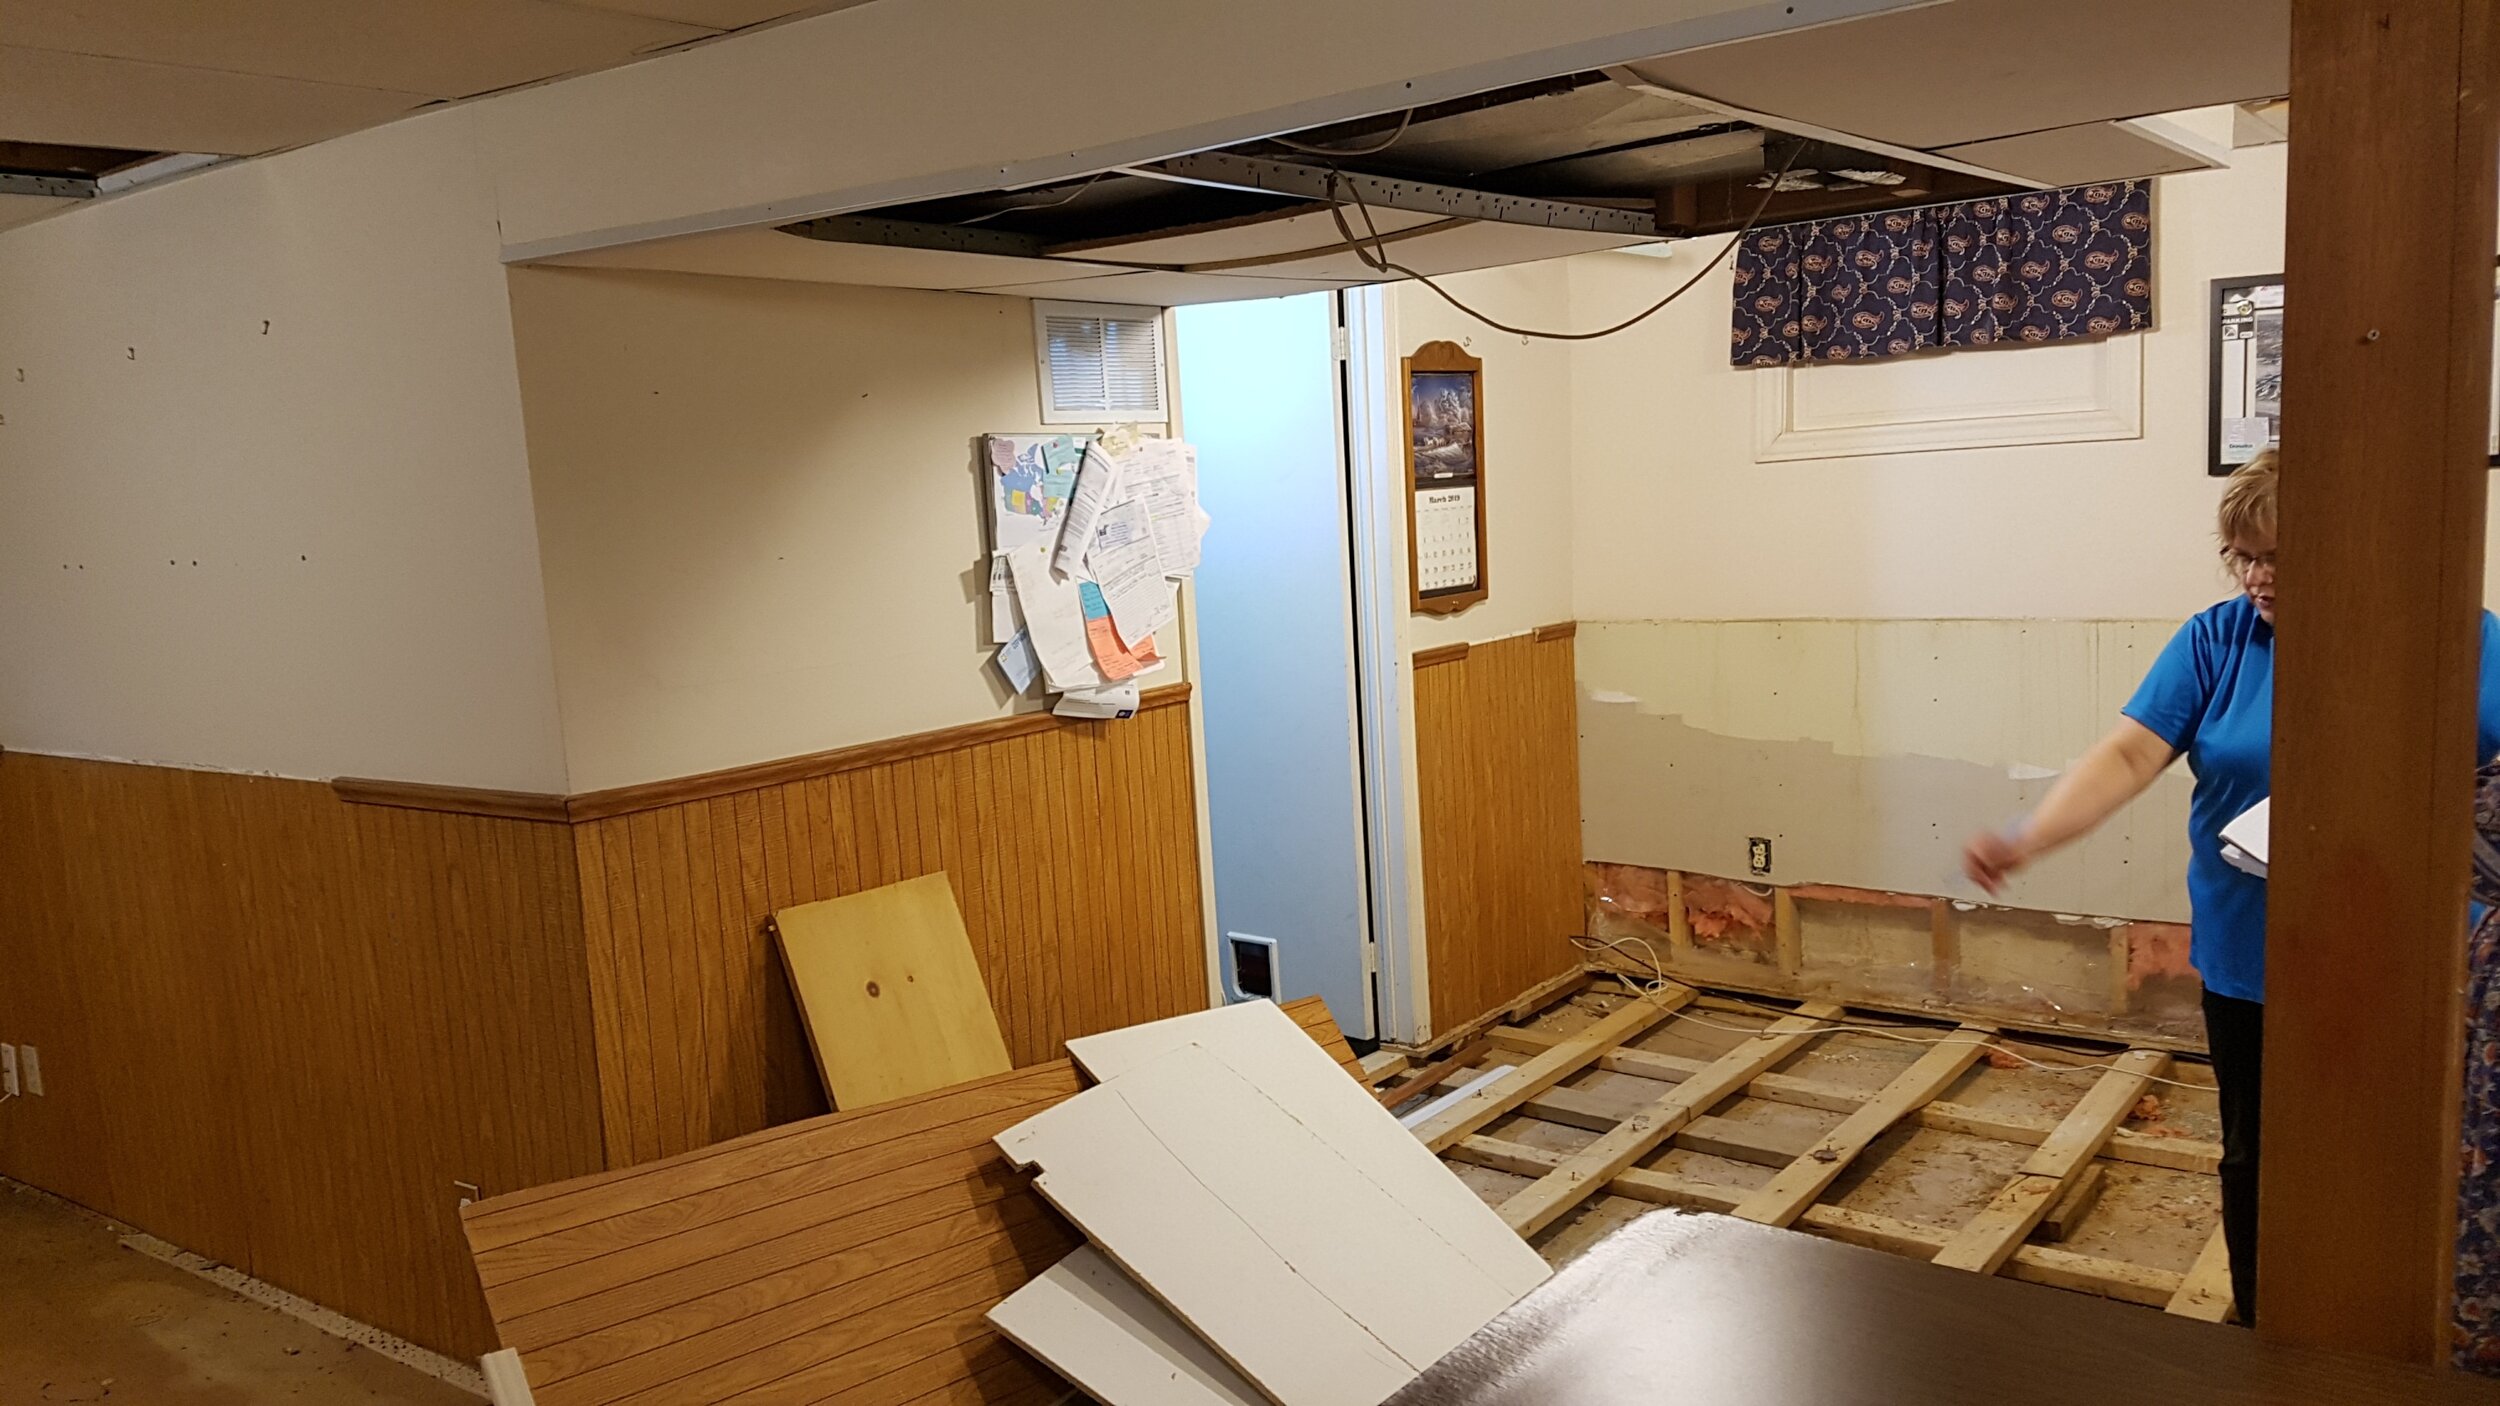
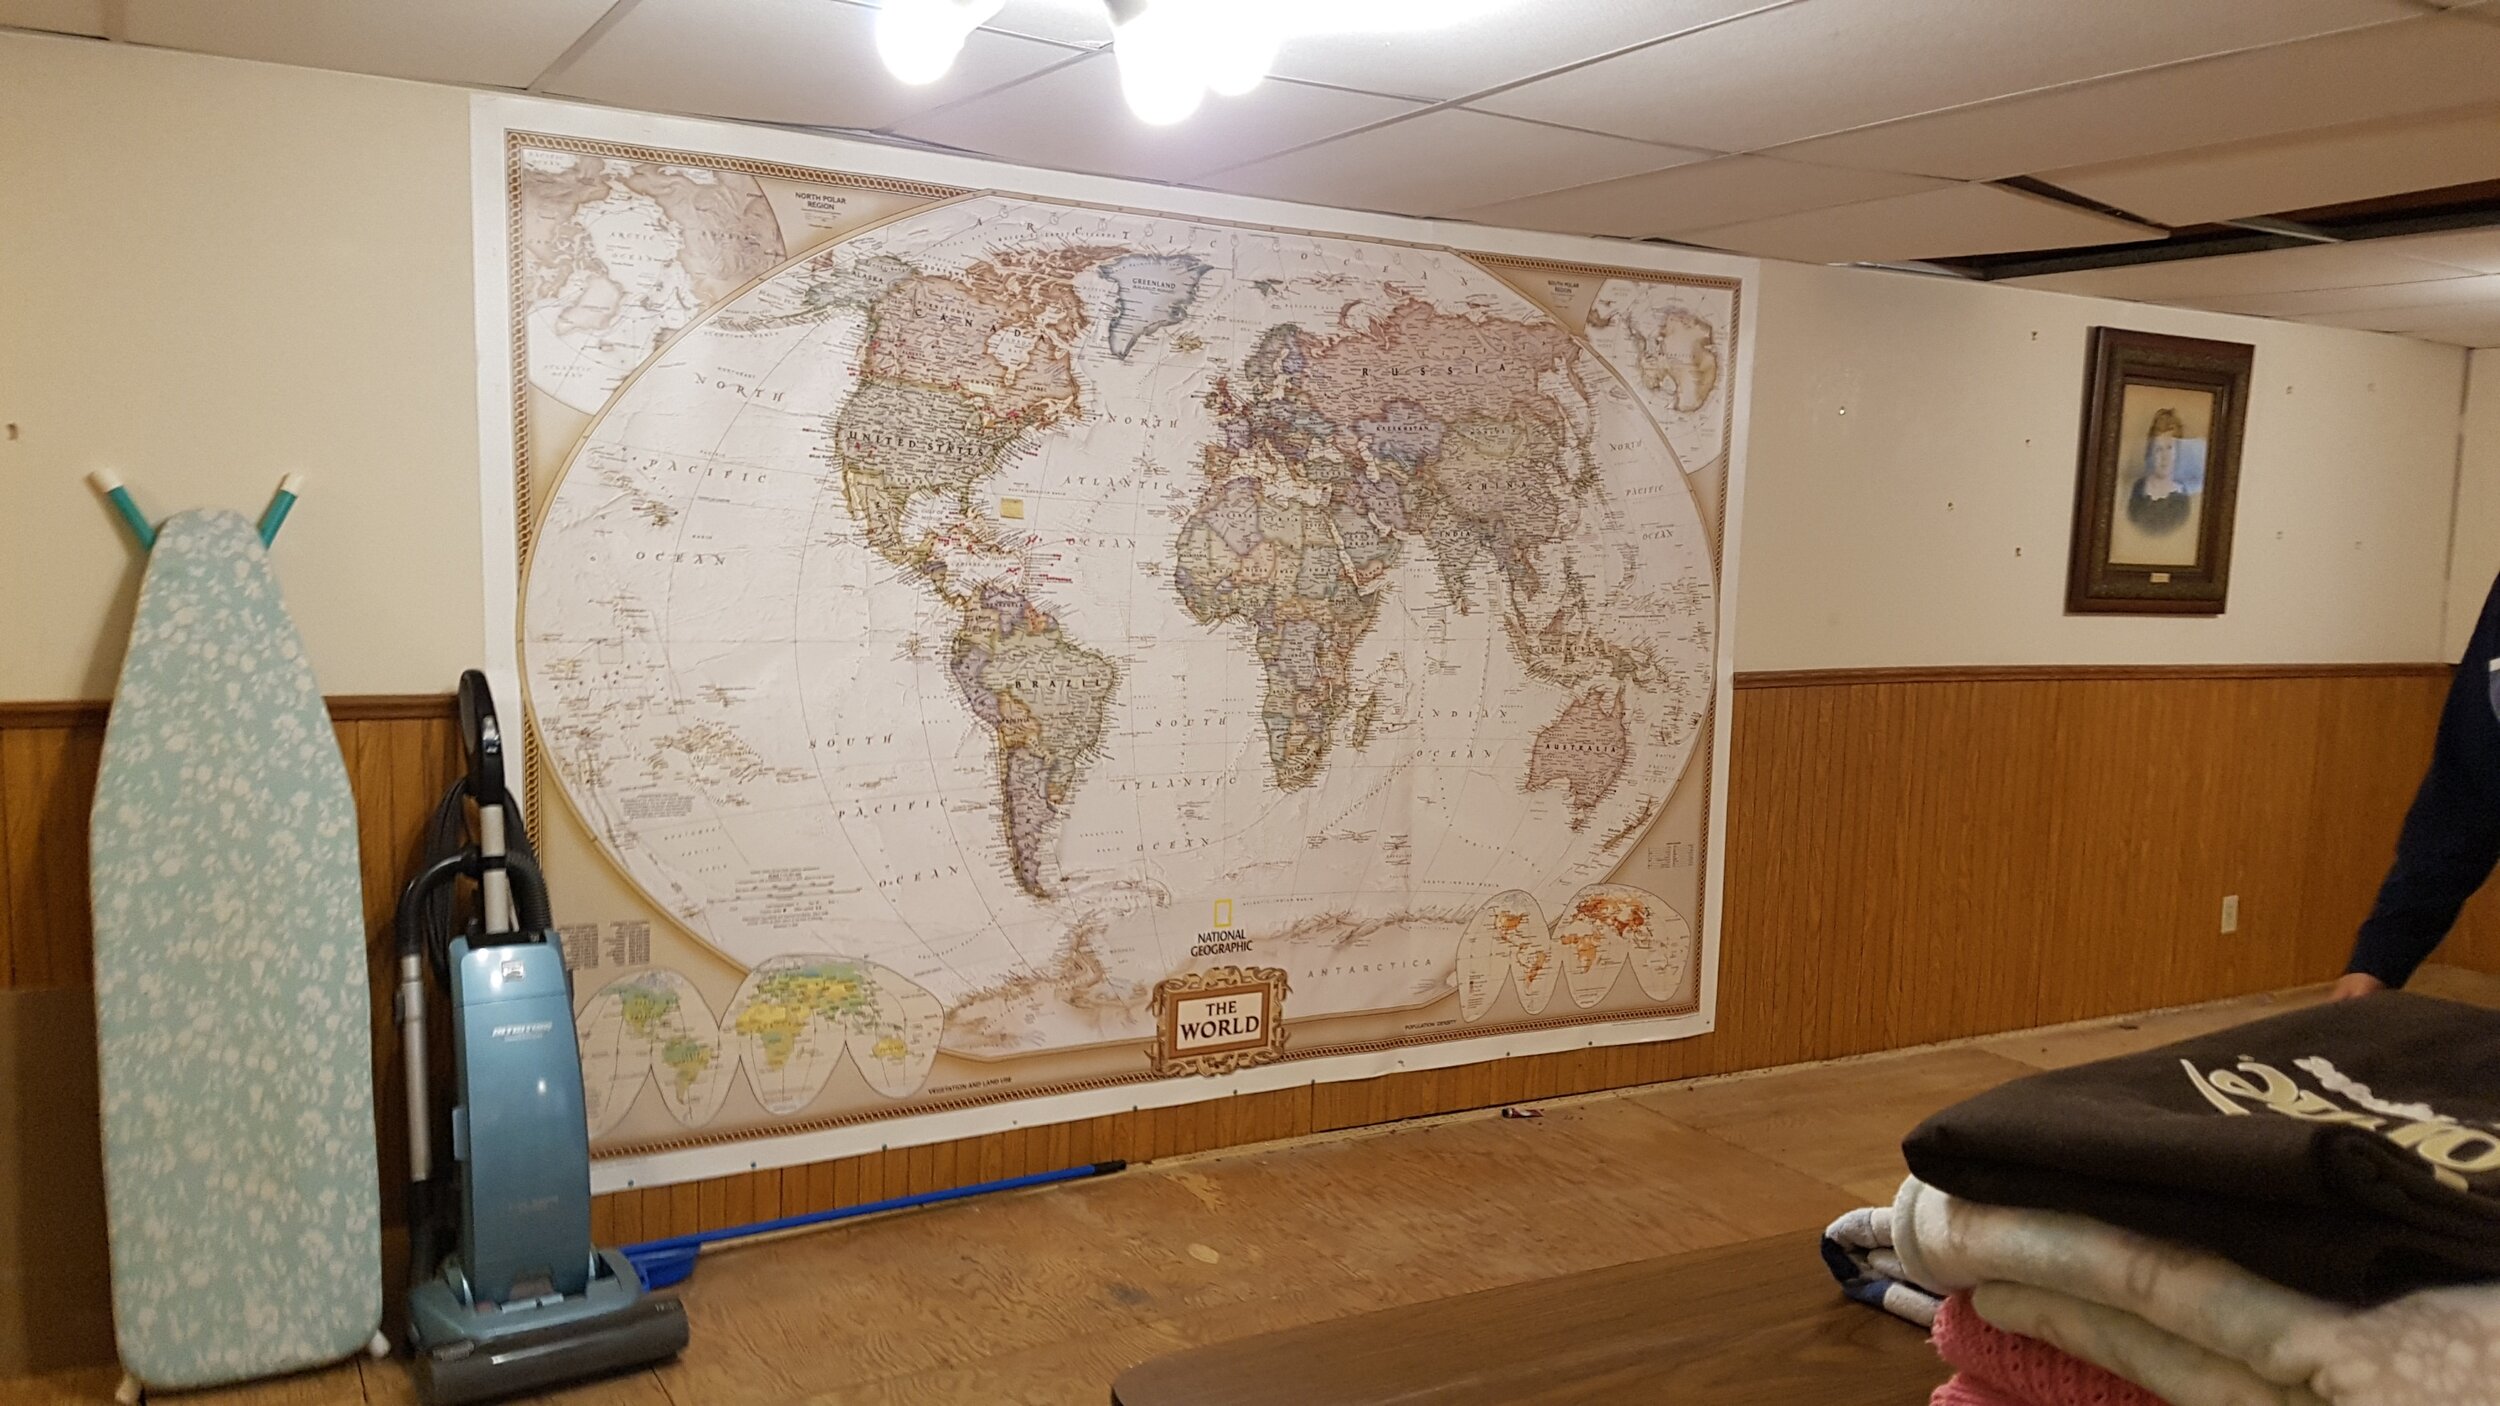
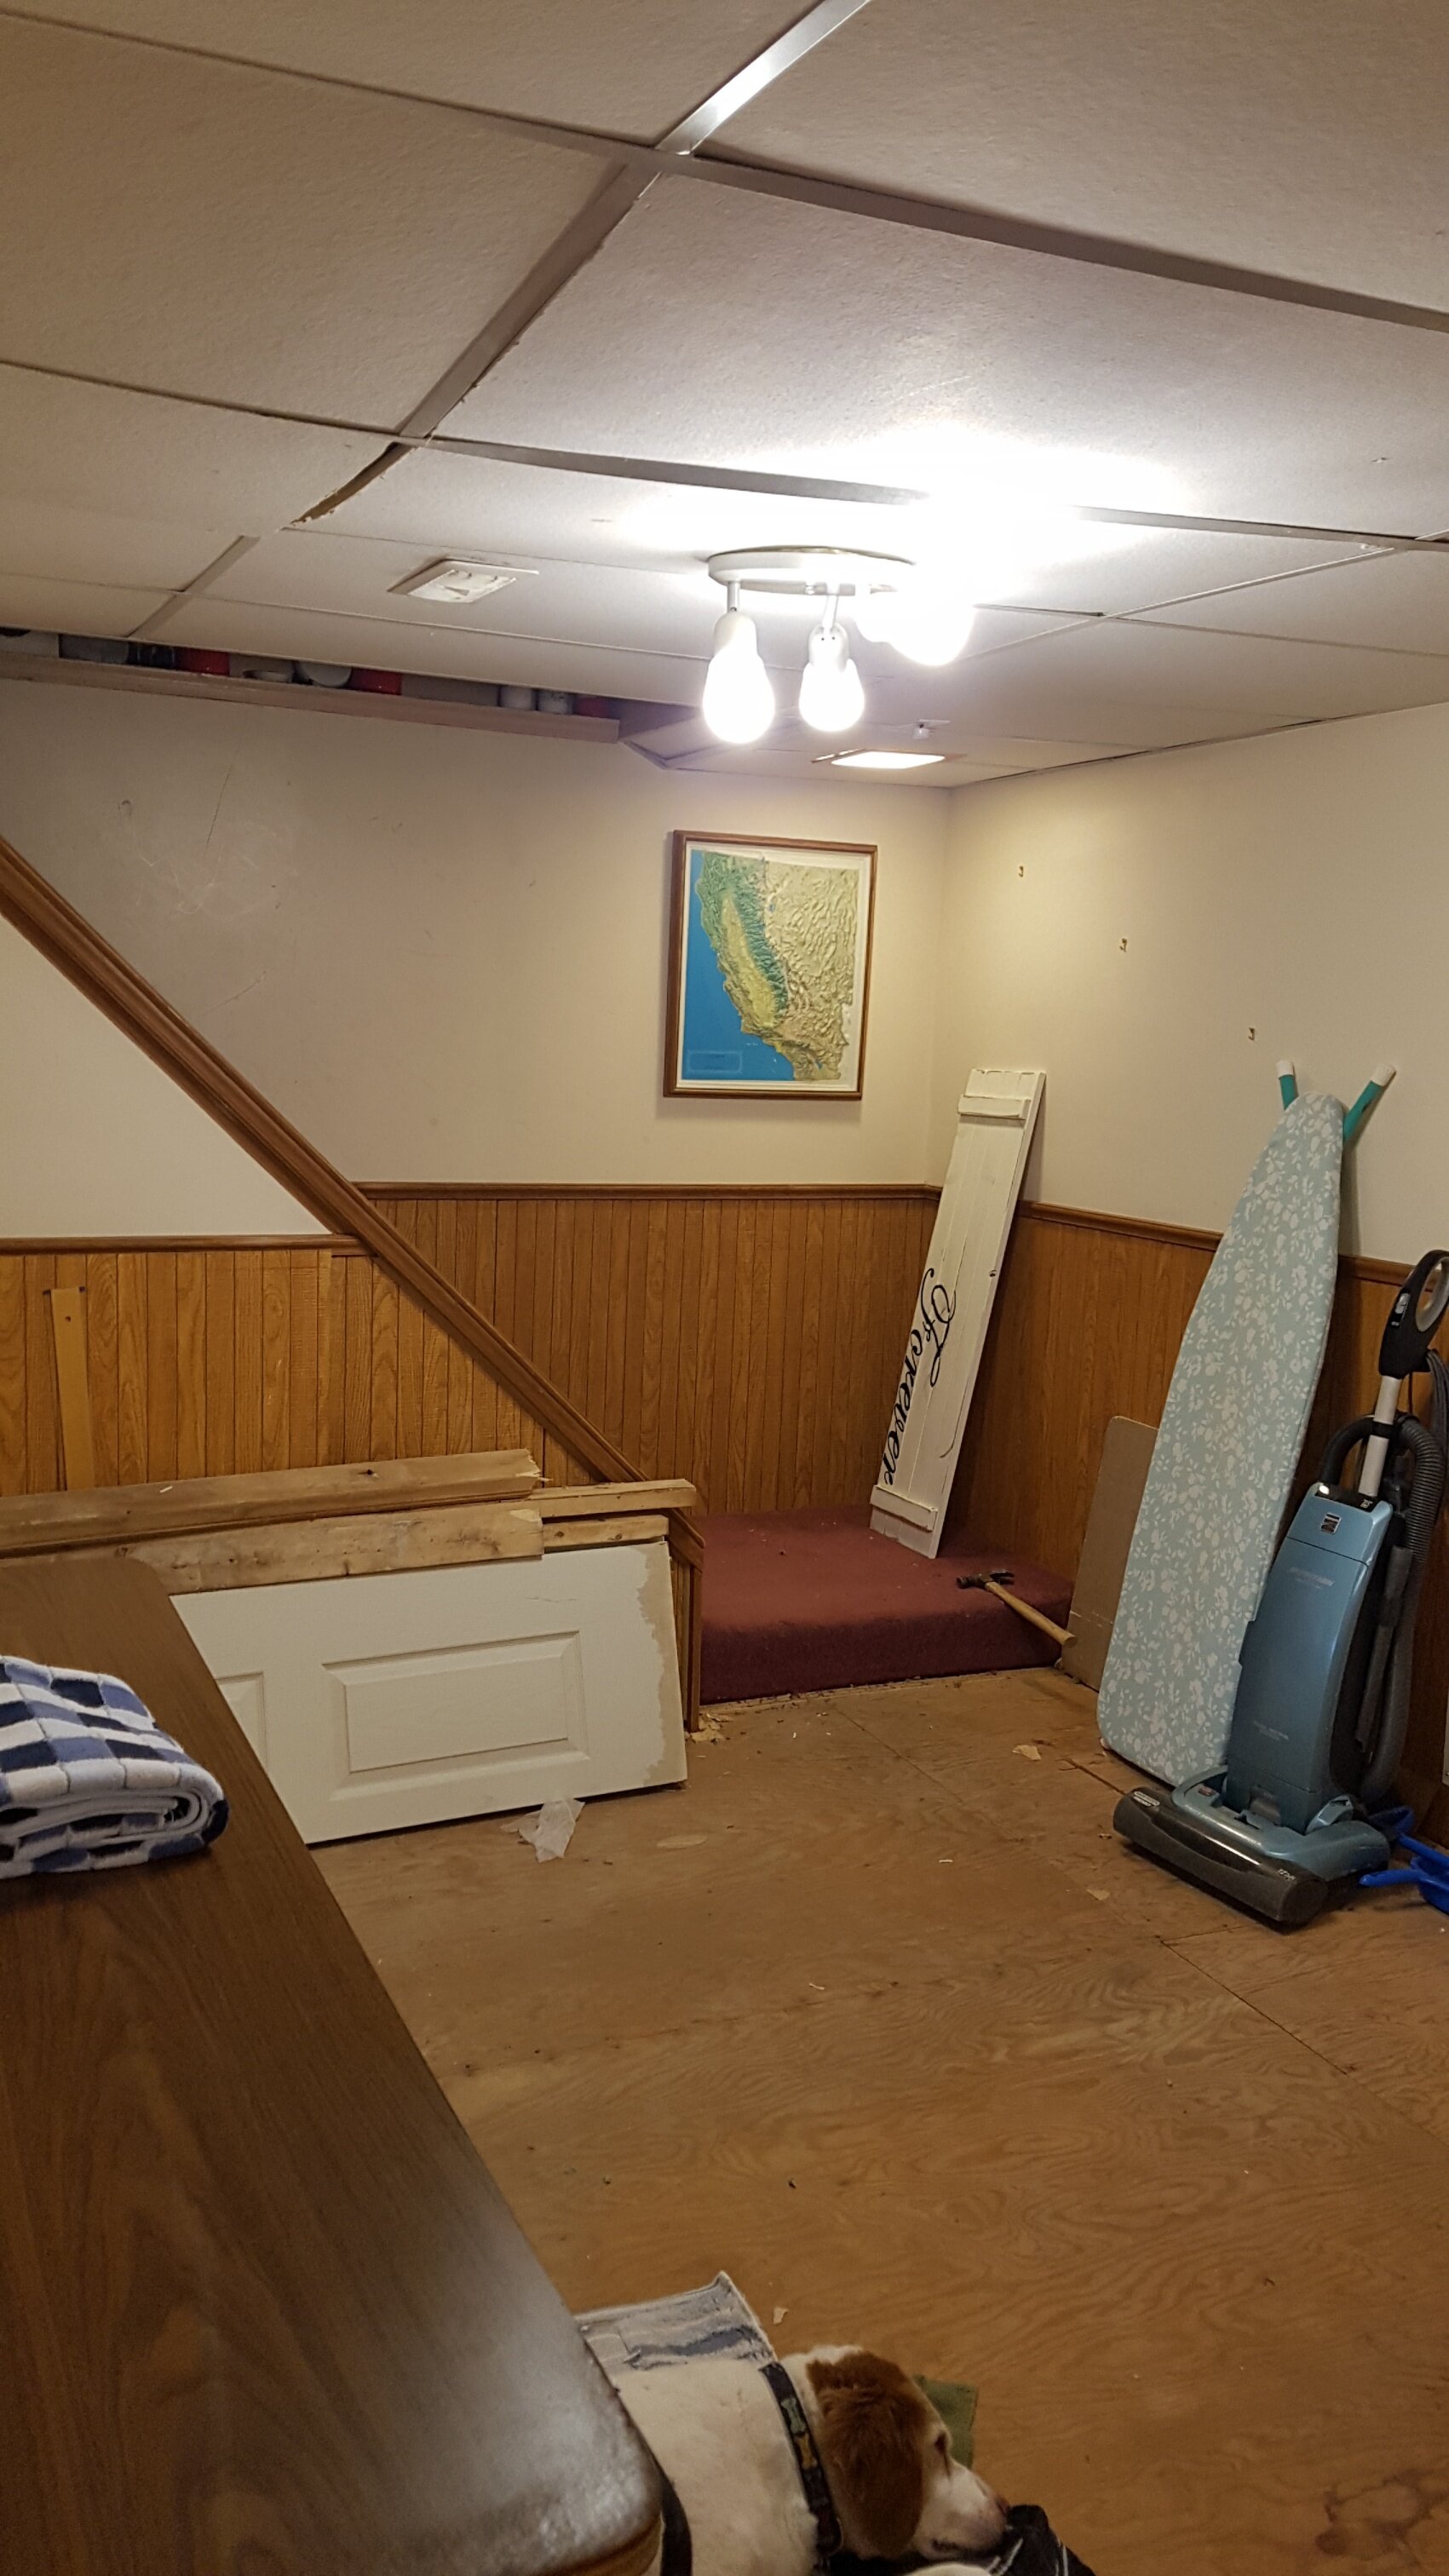
Structural Issues Were Found
On our first site visit, when we started taking notes and doing drawings, Paul Kacaba, owner of Multi Trade Building Services, noticed some structural blocks that were broken. There were 18 to 20 feet of blocks at ground level that were broken down in some form. Paul then decided to take a look at the point load. A point load is one big block of concrete that supports all of the weight of the house in one spot. He noticed that where it attaches to the floor, the steel support is not on a concrete foundation large enough to support it.
This was definitely a problem and something that needed to be investigated further before plans for the basement continued. Sue and Dan were anxious about our findings but happy that we discovered this, as the insurance company hadn’t even noticed the issue. We suggested calling in our architectural technologist, Darryl Kennedy, from Cornerstone Drafting and Design. He would be able to investigate and determine if there was a structural issue.
Darryl determined that the original structure was designed to be held up by a strip footing (a continuous strip of concrete that serves to spread the weight of a load-bearing wall across an area of soil). He also confirmed that there was a point load that did not have adequate support below it. Darryl noticed cracking in the walls on the main floor. There was a supporting wall in the basement that the previous home owners removed without installing the proper supports. Over time, the walls and ceiling on the main and second floors of the house sagged and cracked.
So What Do We Do Now?
Darryl’s recommendation was to remove the old block and install a new, proper block on the footing. An appropriate 2x6 structural support wall was also incorporated into the design of the basement plan. Darryl provided us with a complete set of architectural drawings, and a building permit was taken out.
Thank goodness Paul saw the damaged blocks on our initial visit. Sue and Dan weren’t expecting the additional cost associated with the drawings and the structural repairs, but they were happy that things were going to be done right!
The Living Room Area Project
Over the course of the project, the plans changed to suit the space and our client’s needs. Initially, Sue wanted to create a small home office under the stairs. She had seen several photos on Pinterest where homeowners had made use of the space in this way. Between Darryl, myself, and our cabinet maker, we tried to make it work, but unfortunately there just wasn’t enough head room to meet Ontario Building Code requirements and make it functional and aesthetically pleasing.
We found a great compromise, though! We installed a wine fridge, a base cabinet for storage, and utilized the triangular area under the stairs for a wine rack. We topped it with a simple laminate countertop, and now they have a great beverage centre with storage.

Sue and Dan also wanted to have a custom-built wall unit in their basement living area. They wanted it to hold their new 50" TV, a stereo system that included a turntable, and a large collection of vinyl records, as well as collectibles from their vacations. I put together a design and discussed it with our cabinet maker.
The top of the unit had open shelving to display all of the souvenirs and collectibles they picked up on their years of travel together. The middle section was left open for the TV. The bottom cabinets were left for storage. Below the TV was the stereo system, which included a pull-out tray for the turntable. A black acoustic speaker screen was installed in the door fronts to allow the speakers to be stored inside the unit while allowing the sound to escape perfectly balanced. The two base cabinets on either side of the stereo system were built to suit Dan’s record collection.

The unit was made of white shaker-style thermofoil. Now this isn’t the thermofoil of 30 years ago that looked like plastic glued to a door and would warp and peel easily. Thermofoil today comes with a 25-year warranty and is much better made. Economical, beautiful, and tough, thermofoil cabinets are made with medium-density fiberboard (MDF), which is overlaid with a thin film of polyvinyl chloride (PVC). These materials are heat-fused together to create a smooth and durable finish. Thermofoil has come a long way over the last decade, from an increase in the variety of styles and designs to the massive selection of colours and finishes.

To finish off the stairs, our clients opted for a durable Berber carpet. They initially didn’t want a railing on the stairs at all, recognizing it would be challenging to get large furniture into the area. However, the Ontario Building Code stipulates the need for ballusters and a handrail to close off the stairs and ensure safety. We compromised by suggesting that all of the furniture be delivered to the basement right before the railing gets installed. We left the railing as the very last project to be completed, ensured we had cut the ballusters and handrail to size, and already had it painted. That meant very little 'construction' was actually happening once the furniture was delivered.
Sue and Dan selected gorgeous luxury vinyl plank flooring to match the carpet on the stairs, and their furniture was stunning shades of blue and grey. This complimented the welcoming blue (SW 9148—Smoky Azurite from Sherwin Williams) they selected for their wall colour. LED pot lights were installed throughout on dimmer switches so our clients could create a brightly lit space for game nights or reading but dim the lights for movie nights.

And Now for the Dream Laundry Room
Sue and Dan chose to keep the laundry room in the basement. They didn’t really have a spot on the main floor for the laundry without giving up a coat closet or a very small powder room, neither of which they were willing to do. They weren’t crazy about the idea of having the laundry on the second floor, so the basement made the most sense.

The laundry room was Sue’s dream space! She had always wanted a large, finished laundry room that was bright and cheery with lots of storage. She asked our cabinet maker to fill the space with storage cabinets. Uppers and base cabinets were installed on two walls, and tall cabinets were installed on an adjacent wall. One of the tall cabinets had a pullout for her ironing board. The other cabinets were set up like pantries with pull-outs as well as fixed shelves for lots of storage. To keep costs down, these cabinets were also shaker-style thermofoil.

It was decided that the focal point of the room would be the bright, decorative sheet vinyl flooring. To ensure the rest of the room didn’t compete with the focal point, the walls were painted white and the cabinets were Canadian Grey. The pulls had a matte black and chrome finish and were the same ones used on the wall unit in the living area. The matte black hardware complimented the stunning matte black faucet Sue picked out for her laundry tub.

The laundry room had a pocket door installed, which led to the adjacent unfinished storage room. The opening into the laundry room from the living area was very large (a 42" opening), and our client wanted to close it off somehow, but she also wanted to maintain the large opening. Although she loved the idea of a barn door, you couldn’t easily find one that large. We suggested that we could custom build one out of barn wood. We found some beautiful wood and created a gorgeous door to close off the laundry room. She loved it so much that she asked us to create a matching one for her electrical panel.

This new space was a dramatic transformation for our clients, and Sue and Dan love their new basement and laundry room. It’s amazing the results you get when you take a client’s vision and combine it with the skills of an amazing renovation team!