
10 Ways to Save Money on Your Renovation Project
/Home renovations are a big investment, but they don’t have to break the bank. There are many ways you can save money on your renovation by planning ahead. We explore 10 simple things you can do to save money when planning your next big renovation.
Please note: If you are planning on trying any of the demolition projects listed below, please make absolutely certain you are wearing a dust mask and safety glasses. Ear plugs should also be worn with any noisy projects. Ensure your Personal Protective Equipment (PPE) is clean and functional. If you are at all uncomfortable with the skill level required for any of the ideas below, please do not attempt the project. Injuries can happen if you don’t know what you are doing, and putting your safety at risk is never worth saving a few dollars.
Prefer to listen?
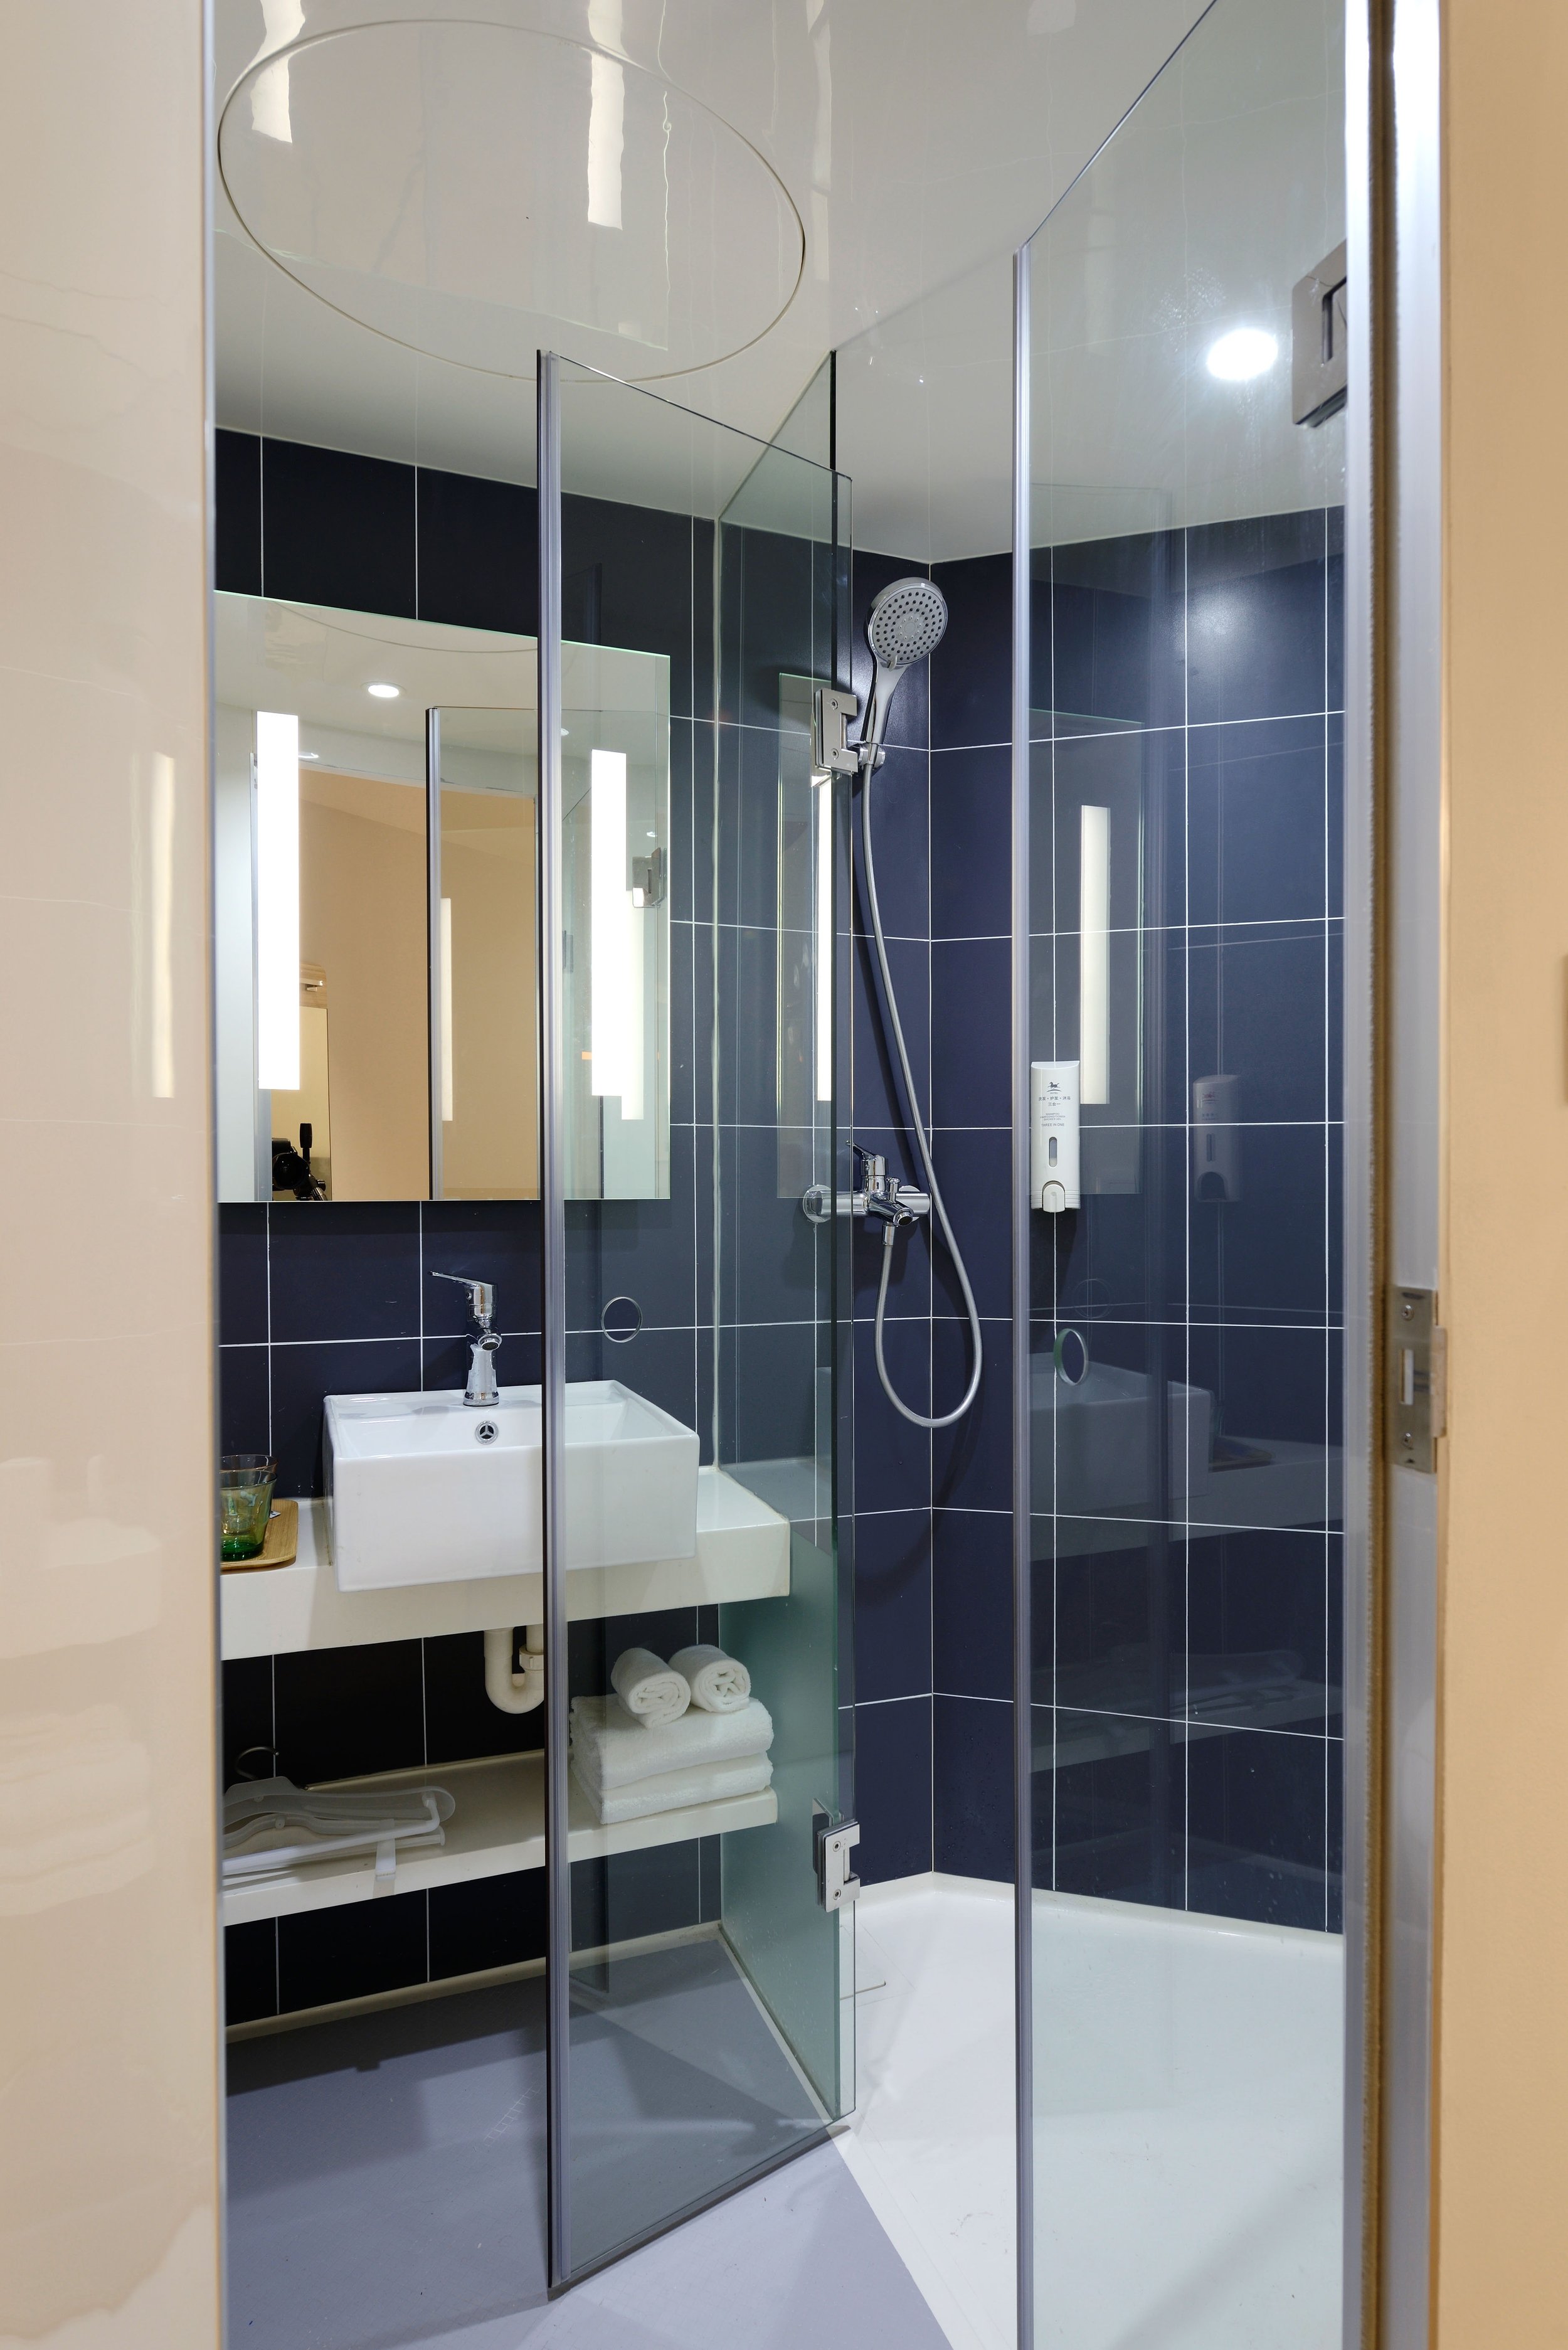
1. Demolition of Tiles in a Bathroom

Try doing some of the demolition yourself. Even if you have no experience with this, you can still do some simple things that can save you some money overall. For example, if you’re doing a bathroom renovation, remove the tiles and wall board from the walls of your shower or tub. Make sure you remove things hanging on the wall on the opposite side of the bathroom. Use a reciprocating saw or a crowbar to carefully remove the tiles. Use a drywall knife if you don’t have a reciprocating saw to cut out the drywall or boarding. This can be dusty work, so make sure you wear a mask and safety glasses. If you’re using a reciprocating saw, wear ear plugs, as it can get noisy. Use strong contractor bags to bag up all of the tile and drywall and put them out on your local garbage collection day. Don’t overfill the bags because if they are too heavy, they won’t get picked up.
2. Do All of the Disposal Yourself
Tell your contractor you want to do the disposal yourself. You will still have to pay for disposal, but you won’t have to pay their employees for the labour of hauling the bags or debris to the dump. Disposal bins can be expensive, so if your contractor plans on putting a bin in your driveway for the duration of the project, you can easily save a couple hundred dollars by taking care of the disposal.
I live in Oshawa, Ontario, and we have a limit on the number of bags we can put to the curb on garbage collection day. Since we can only put out 4 bags, we can purchase orange tags that we can tie around our garbage bags that number more than 4. At $2.50 per tag, it’s much cheaper to purchase some tags and put out your renovation garbage at the curb instead of paying for your contractor’s labourers to take it to the dump. Make sure they don’t pack the bags any heavier than 40 lbs, though, to ensure they get picked up.
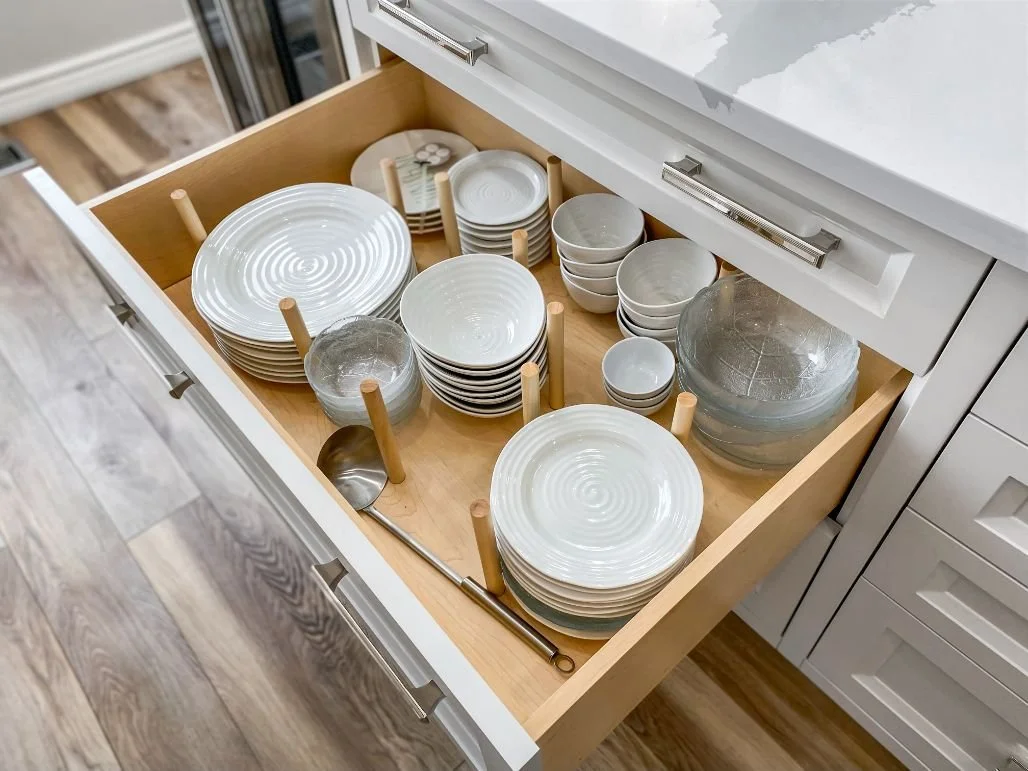
3. Remove Your Kitchen Cabinets Yourself
There are so many options for what you can do with your existing kitchen cabinets if you’re planning a kitchen renovation. Don’t pay your contractor to remove and dispose of them if one of these options works for you:
a) Remove them yourself and take them to the dump, or donate them to Habitat for Humanity if they are still in usable condition.
b) Prior to removing them, take photos of them and post them on Kijiji or Facebook Marketplace. Often, people will buy your cabinets to use in their own kitchen or up at the cottage or trailer. If you’re not comfortable removing them yourself, make it a condition of the sale that the buyer has to remove them.
c) Call some local charities, such as Habitat for Humanity and the Salvation Army Thrift Store. Send them photos of your cabinets and ask if they want them. Ask if they will come to remove them and take them away. A client of ours had Habitat for Humanity remove her kitchen cabinets for her and take them away to resell at the Re-Store. She saved herself $800 on her renovation by doing this.
4. Do Your Own Painting

Depending on your project, you can save $400–$1000 on labour by doing the painting yourself. Be sure to use good-quality paint. Don’t skimp on the paint quality, as a great renovation can look terrible with a bad paint job. We use Sherwin Williams paint and love the quality!
Before you start painting, make sure you dust the walls and ceiling with a lightly damp cloth. If you’ve had drywall work done, there will be drywall dust on the walls that you need to clean before getting started. If new drywall has been installed, make sure you use a drywall primer specifically for new drywall. Once all of your surfaces are primed, apply two coats of appropriate paint to the ceiling, walls, door, and trim.

5. Flooring Removal and Prep
If you are replacing the flooring in your project, you can remove and dispose of the flooring yourself. Linoleum, laminate, or vinyl flooring lifts up easily. Even hardwood can come up fairly easily with a crowbar. Tile floors can be a little more demanding, but with careful work, you can remove them as well. Find one loose tile and start with that. A crowbar works well to help with the removal of the rest. If none of the tiles are loose, then start at a doorway where you should be able to easily remove a few tiles to get started.
6. Buy Your Own Fixtures

I know it’s really nice to work with a contractor that can provide you with the fixtures as well, but you will be paying more than you should. They will be adding a profit margin to those fixtures for two reasons. First, they need to make money selling it to you, and second, they need to get paid for the time they are spending sourcing out those fixtures. Even if they tell you that you are only paying regular retail prices for the fixtures, believe me, they are making a profit.
Work with a contractor that will encourage you to purchase your own fixtures. If you’re doing a bathroom renovation, watch for the sales coming up. Many big box stores and local plumbing outlets will allow you to pay for the items when they are on sale and just have them delivered when you actually need them. You can save a significant amount of money by doing this.
7. Buy Cheaper Tile for the Main Tile and Only a Small Amount of Expensive Accent Tile

There are some gorgeous tiles out there for tub and shower walls, but some of them come at not-so-gorgeous prices! You can still achieve a great look on a budget by purchasing an inexpensive subway tile for the main portion of the walls and just selecting your "gotta have" expensive tile as an accent piece. If you’re just putting the accent tile at eye level, you will likely only need about 5-8 square feet, which certainly won't break the bank. Accent tile will typically be horizontally installed at eye level (about 2/3 of the way up from the floor). However, we’ve also installed it right up to the ceiling and vertically from ceiling to floor on one accent wall.
You can also just purchase inexpensive, simple tiles for your walls and add some bling to them with glitter grout. There are many varieties on the market today. Here is an Amazon link to some of the most popular ones:
8. Do Your Renovation Project in Stages
If you have a lot of projects that need attention in your home but don’t have the budget to do everything right away, then do your projects in stages. Don’t make the mistake of cutting corners and doing things a cheaper just so you can get more renovations done right away. Do things right the first time so that you don’t have to redo them again anytime soon.
If you have two bathrooms and a kitchen to renovate, then plan on one bathroom this year, maybe the kitchen next year, and the last bathroom the year after that. As long as your rooms are functional without defects such as leaks, you are better off waiting until you have the money to do it right.
We did a basement for our clients many years ago. They didn’t have the funds to finish the whole basement all at once, so they did that whole project in stages. We did the framing first, and then she called us back in 5 months when she had the money to continue with the rough-in electrical. Two months later, she called us back to do the insulation and drywall. Overall, her entire project took two years, but she didn’t have to remortgage her home or take out a line of credit to do it. When she had the money saved up, she just let us know, and we came back to continue with the work.
9. Know Where to Shop for What
There are certain things you shouldn’t skimp on for your renovation project, but there are other items you can purchase at a big-box store and save a significant amount of money. For example, you can buy good-quality sinks and faucets for your bathroom or kitchen at places like Lowe's and Home Depot. Toilets are perfectly acceptable at the big box stores as well. The best suggestion I can make, though, is not to purchase the really cheap ones from these stores. Don’t even consider the lowest-priced one available unless they are on sale, and that’s why they are lower. We thoroughly recommend American Standard. We’ve never had any problems with any of their toilets, sinks, or faucets.
10. Do Your Kitchen Renovation in the Summer

When you are getting a new kitchen, you will inevitably be without your stove and sink for at least 1-2 weeks at a minimum. That means going out a lot! Although that sounds appealing, if you do your reno in the summer, you can use your BBQ and create your meals at home, eating outside away from the reno. This can save a significant amount of money compared to eating out.
Bonus: Plan Far in Advance

Plan as far in advance as possible. Knowing we are usually booked up 3-5 months in advance, we’ve even had clients approach us 1 year in advance to start the planning process. Rush jobs that come with a deadline typically also come at a premium price, so start the planning process 3-6 months in advance of when you actually want the project completed.
Renovation projects should always be considered an investment in your home. However, renovations don’t have to break the bank. As you’ve seen above, there are ways to save money if you’re willing to invest a little time or elbow grease.
Make sure you know if the renovation project you’re planning will yield a good return on your investment. For some guidelines on this, you can reference our Blog post on ROI. For a quick checklist summary of the above, click here. Save this list! It can help you save hundreds or even thousands of dollars on your next renovation.